Template: Crochet Order Form
Form Demo
Template Description
Key Features
The Crochet Order Form has these key features
- The quantity of yarn and shade is automatically adjusted depending on the size of the product to crochet.
- You can select different colors of shade and yarn using a side panel
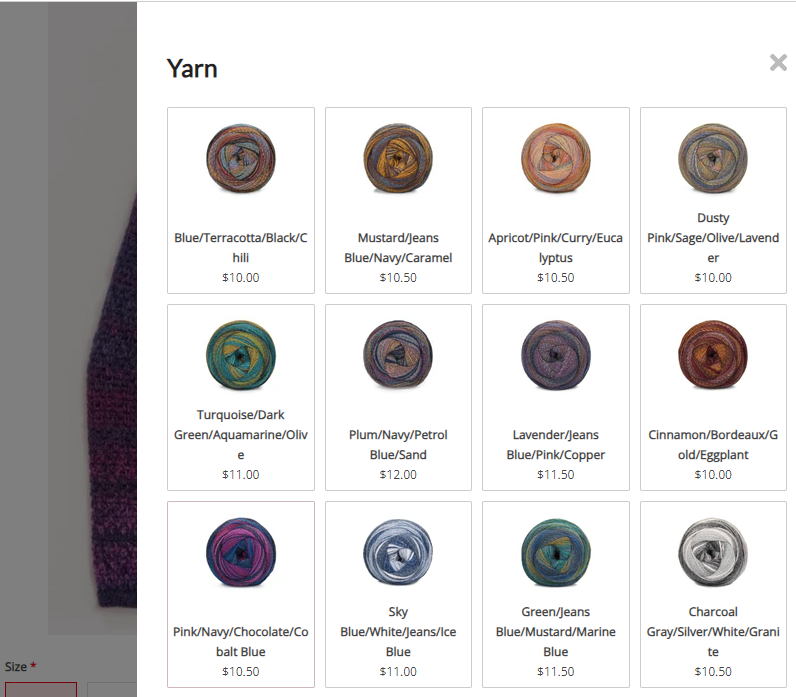
You can choose the yarn and shade using a side panel
- The total price is adjusted depending on the price of the yarn, yarn shade, and the quantity purchased
How I Created the Crochet Order Form
In this section, I will cover how I did this form in case you have doubts or want to learn but if you just want the result and don't care about this go to the "Template Download" section to get this template.
Prerequisites
- AIO Forms, you can download the plugin for free here.
- Essentials Add-On : The field that creates the side panel is the "Pop up selector" field which is included in the essentials add-on
Getting Started
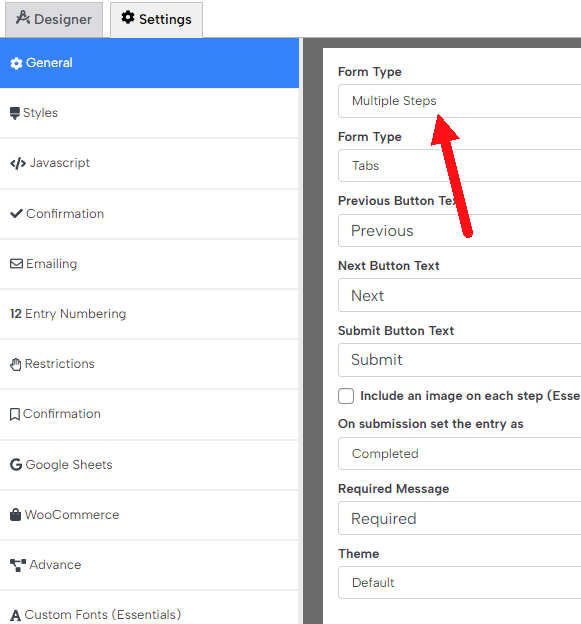
This form is a multiple-step form with two steps "Customize Product" and "Shipping Information". So the first thing I did was configure my form to be a multiple-step form, to do so I went to the general settings and selected "Multiple Steps" as my form type
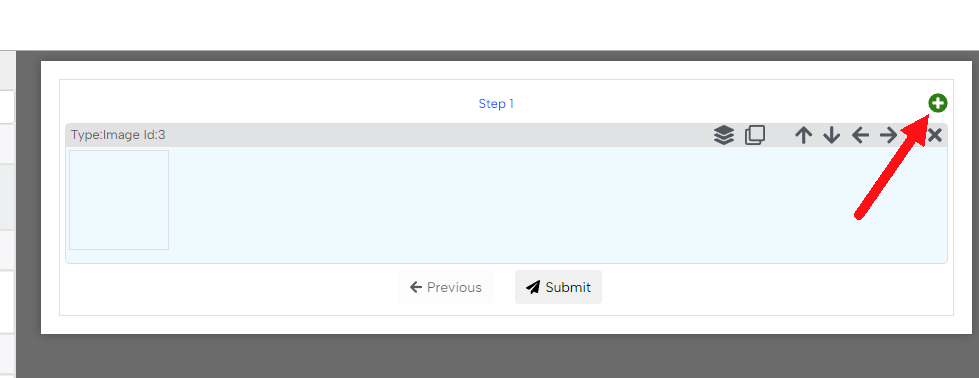
Then in the form designer, I clicked the plus icon to add a step
Then I hovered over the step and clicked the pencil icon to configure each step
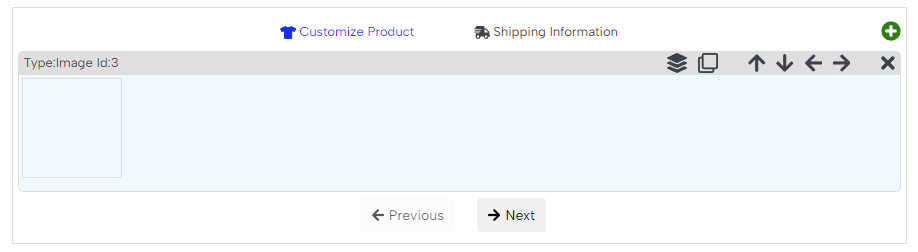
I named one step Customize Product and the other Shipping Information
Creating the customized product step
This step has 4 fields
- 1 Image Field
- 1 Button Selection Field
- 2 Popup Selection Field
Configuring the image field
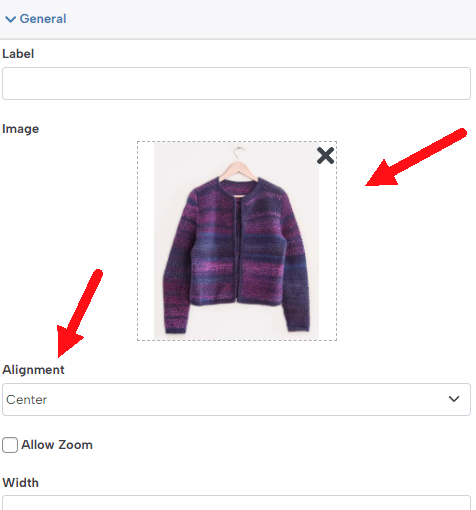
The image field is easy i just selected the image that I wanted to use and configured it to be centered
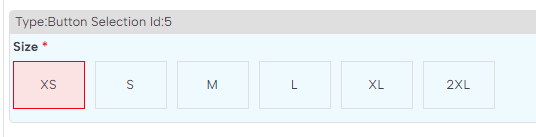
Configuring the size field
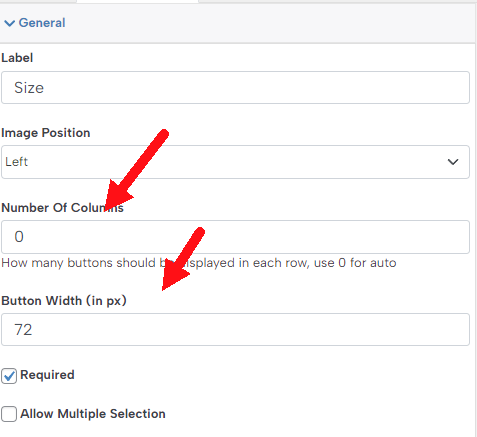
The size field is a button selection, by default, the buttons of this field are bigger than what I wanted to use in the crochet order form
So to make them look like in the crochet order form I made the following changes:
- I set the "Number of Columns" to 0 so all the buttons are placed in the same row
- I set the Button Width to 72
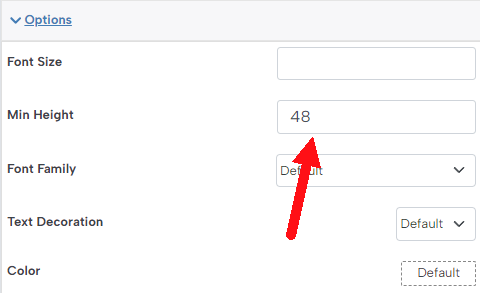
- I set the button Minimum Height to 48
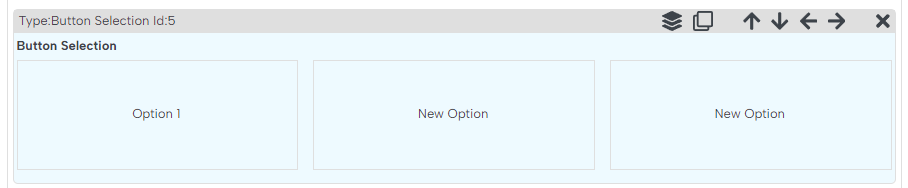
- Added the options that I wanted (XS, S, M, L, XL and 2XL)
This made the buttons of the field look like this:
Creating the Yarn and Yarn Shade Fields
These two fields are pop-up selector fields so the first thing that I did was add these fields and then configure their options (the type of yarns)
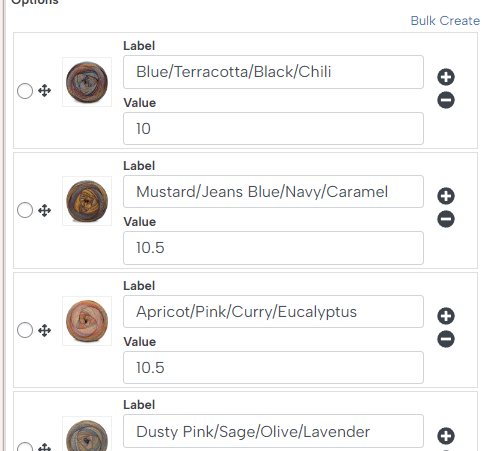
I used the 'Value' section to configure each yarn price, for example, in the image above the Blue/Terracotta/Black/Chili yarn costs $10
Adjust the yarn quantity automatically
In the crochet order form, each product size requires a different quantity of yarn and yarn shade. This quantity is automatically adjusted by the form so the users don't have to do it themselves.
Saving the Yarn and Yarn Shade quantities
The first thing I need to do to make the plugin adjust the quantity is to configure how much yarn and yarn shades are needed for each size. To do so I went to the Size field and clicked the 'Add Additional Column' button
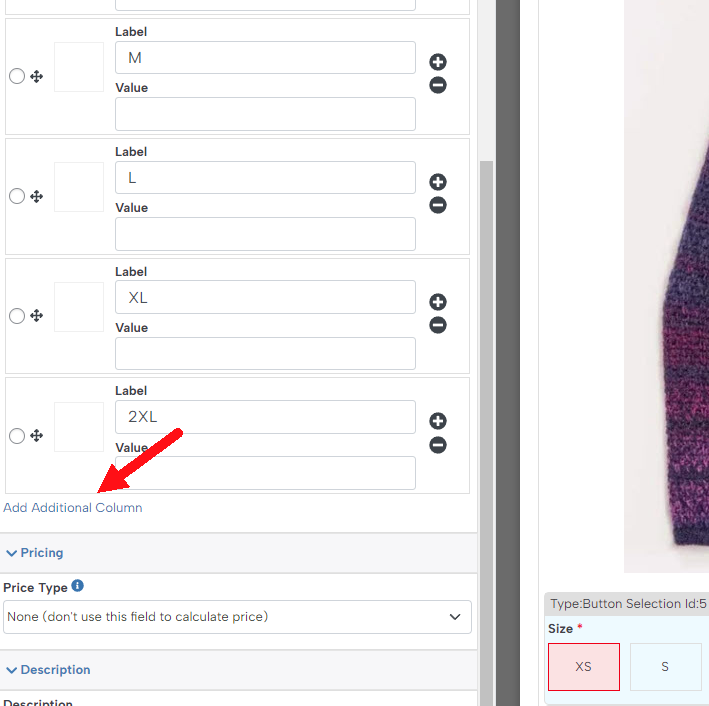
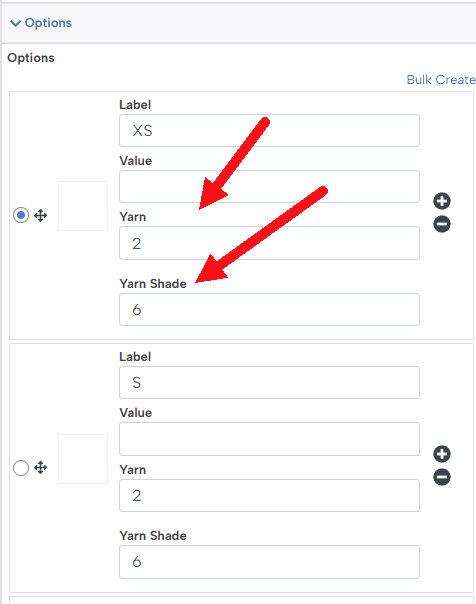
Then I added two new columns called "Yarn" and "Yarn Shade"

This will let me save the Yarn and Yarn Shade in each option
Changing the Yarn and Yarn Shade quantity depending on the selected size
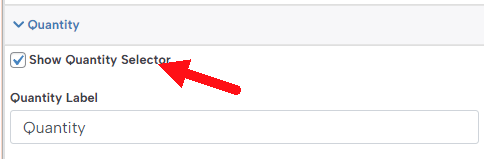
The last thing to do in this section is to make the quantity of the yarn and yarn shade adjust depending on the selected size. To do so I went to the Pop Up selector settings and enabled the 'Show Quantity Selector'
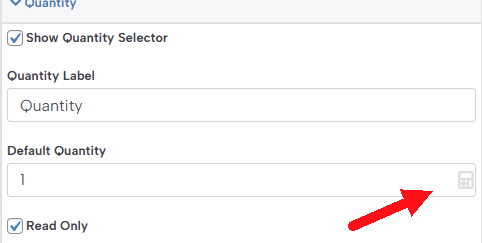
The quantity of this field should be the same as the quantity defined in the Yarn or Yarn Shade column of the "Size" field, to do so I went to the Default Quantity section and clicked the calculator icon to set up a formula
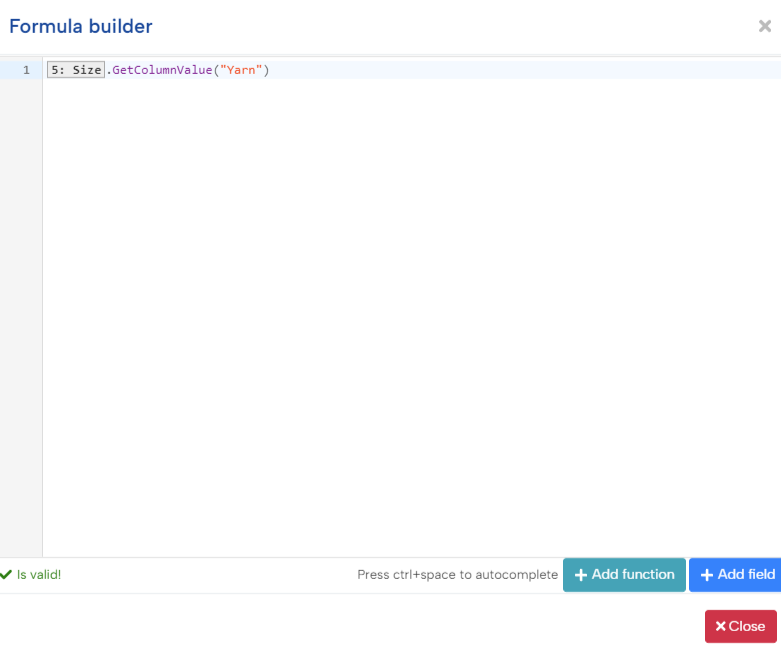
Then in the formula, i just use the "Yarn" or "Yarn Shade" column (depending on which field I am configuring)
Lastly, I want the quantity section of this field to be read only as I always want the form to calculate this quantity
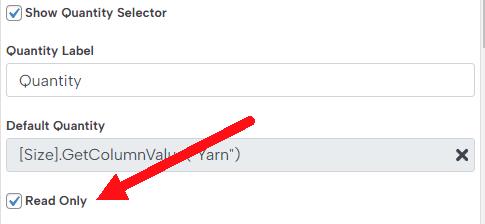
This way my quantity section will be just read-only and won't let my users submit a different one

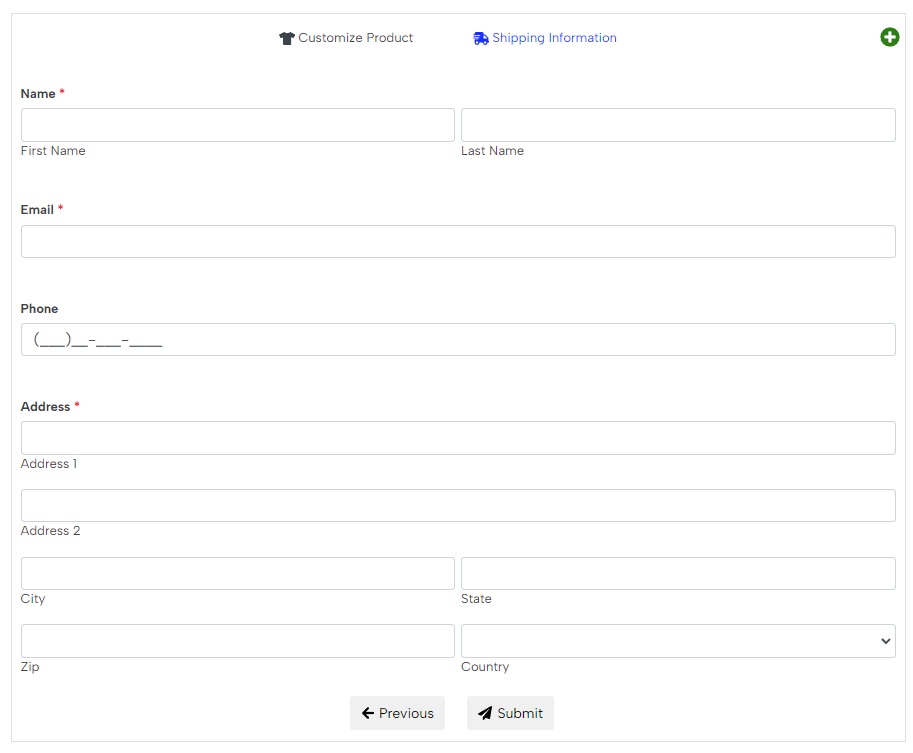
Creating the Shipping Information Section
This section has nothing special, to do it I just dragged a Name, Email, Masked (Phone), and address field
And that's it, now my crochet order form is ready to go.
Conclusion After Finishing the Crochet Order Form
This form uses the new pop-up selector field. This field is very useful for displaying many items with images in a nice-looking way. Also, thanks to the formula support the plugin can calculate the needed quantity to crochet different sizes of products. This helps a lot and prevents the user from making mistakes and ordering the wrong quantities.
Template Download
Installation Instructions
You can download the template directly from here clicking in the button above and then import it to all in one forms
You don't have All in one forms?
You can get it HERE (there is a free version!)
Didn't fine the template that you need?
Sorry for that, our template gallery is pretty small right now but we are adding more templates constantly, remember that all the templates are 100% customizable so you could tweak one template to match your needs (everything is customizable using our drag and drop builder, no coding experience needed) or you can suggest one template in the Support portal