Conditional logic means executing an action only if a condition is met, for example when the user selects an option or fills the form in a certain way. There are many features that support conditional logic for example:
- Showing/Hiding fields
- Custom Validations
- Emailing
- Redirecting the user to a page after submission
How to create a condition
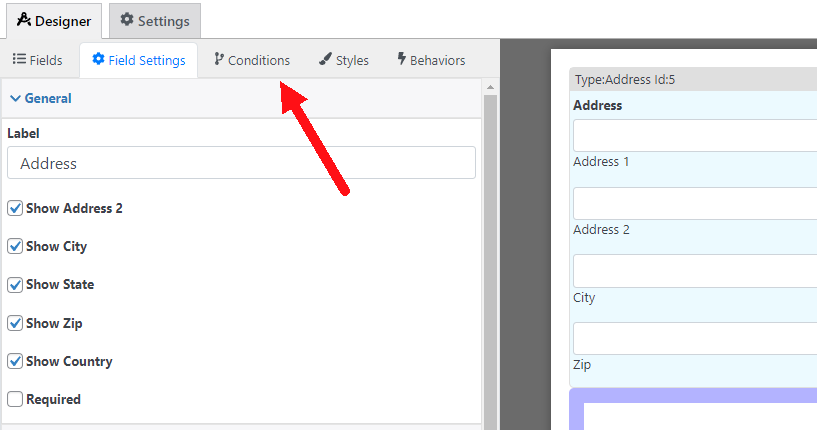
To create a condition select the field which you want to add a condition and go to the “Conditions” tab

Then select the type of condition that you want to use, each field can have a different set of conditions

1.- Using the condition builder
2.- Using the formula builder to create a formula condition
1. Using the Condition builder
The condition builder has 3 main sections :

1: Select the field that you want to compare
2: Select the comparison type (like “Equal To” or “Greater Than”)
3: Select the value that you want to compare
In the example below the condition is checking if the email field has the value “my@email.com”

Creating comparisons with multiple fields
You can also execute comparisons with multiple fields, there are two types of multiple comparisons.
And Comparison
In the “And” comparison all the comparisons that you add should be met. For example, in the screenshot below the conditional logic will be executed only if the Email is “my@email.com” AND the Checkbox field has the “Option 2” selected.

If for example email is “my@email.com” but the checkbox field doesn’t has the “Option 2” selected then the conditional logic is not executed because it doesn’t meet the two conditions.
To create the “And” comparisons click on the “And” button

Or Comparison
In the “Or” comparisons the condition is going to be executed if at least one comparison is met. In the example below the conditional logic is going to be executed if the Email is my@email.com OR Checkbox has “Option 2” selected.
If both conditions are met (Email is my@email.com and Checkbox has the “Option 2” selected) the condition is also going to be executed because the only requirement to execute an “Or” condition is that at least one condition is met.

To create “Or” conditions click on the “Add new group” button

Using formulas
You might also want to use the value of another field to do a comparison, for example, you might want to my sure that the user inputs the email correctly and for that, you might want to add an “Email” and “Confirm Email” field and make sure they both match. You can do this using formulas like this:
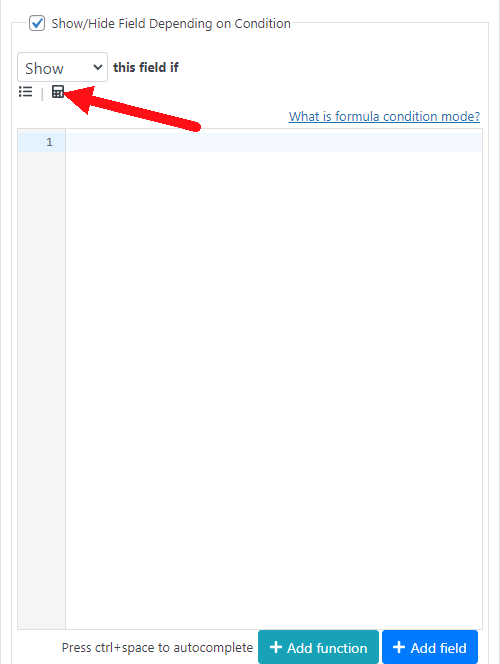
1.- In your condition click on the calculator icon to create a formula

2.- Set up the formula that you want to use, in this case, you just want to return the “Confirm email” field as you just want to compare that both emails match but if needed you could do more advanced stuff like arithmetical operations.
3.- That’s it! now your custom validation will verify that both fields match and if not it will throw an error message to your users
This is how your condition should look:

and this is the result:

2.- Creating a formula condition
Important: The formula condition requires the essential add-on.
The condition builder is enough for most cases but sometimes you might want to do a more complex condition that can’t be done with the builder. To do so you can use a formula condition.
To create a formula condition click on the calculator icon

This will open a formula panel where you can set up your formula. A formula that returns a “True” value will fire the condition, for example, the condition below will show the field when the Numeric field is greater than 20
