Do you want to be able to review and approve (or have a group of people approve) an entry after it is submitted? If so keep reading.
With the automation plugin, you can create an approval workflow in which you can put an entry into an approval process and do other actions (like sending an email or updating the entry status or a field) after the entry is approved or rejected.
To do so follow these steps:
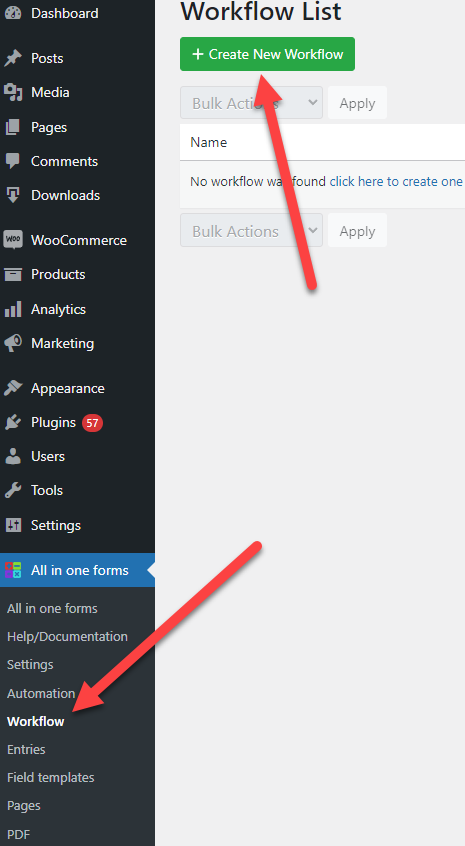
1.- Go to the aio workflow page and create a new workflow
2.- Configure your workflow, in here you can configure a sequence of actions that are performed when a form is submitted, for example, you could send an email, change the status of an entry and then send the data to an API but for this example, we are going to focus just in creating an approval action.
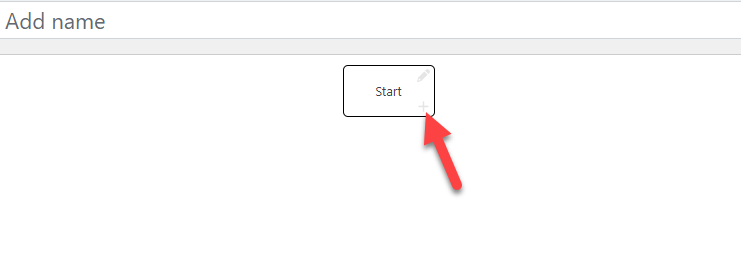
To do so I just need to click the plus button in the “Start” node
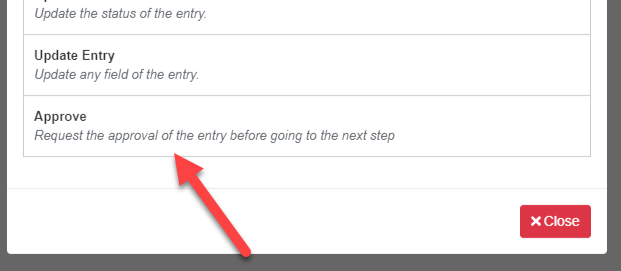
and then I will select the approved action
3.- Configure the approval process. The approval action has 4 main settings:
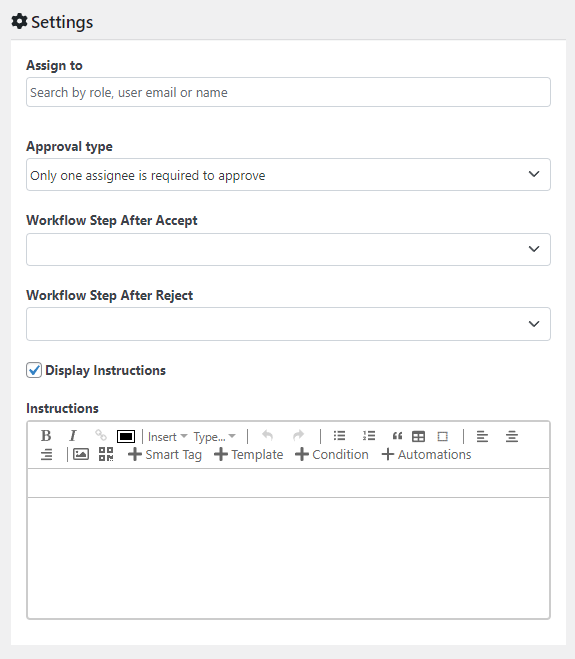
Assign to: Here you configure the users or roles assigned to the approval process
Approval type: Here you configure how the approval is going to work, currently it can work in two ways:
- Only one person is needed to approve
- All the assignees need to approve
Workflow Step After Accept: The workflow step used after the entry is accepted
Workflow Step After Reject: The workflow step is used after the entry is rejected.
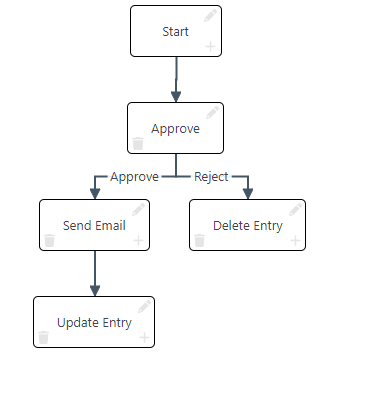
These are completely configurable, for example, in the screenshot below the workflow was configured to send an email and update the entry status after the entry is approved and delete it if it is rejected.
Instructions: Additional instructions that are shown above the approve and reject buttons.
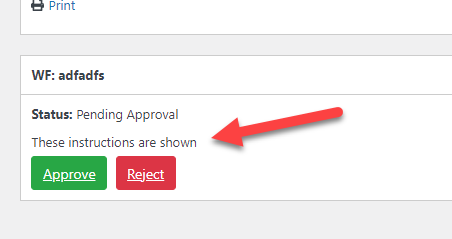
For example, if I configure these instructions:

They are going to show above the approve and reject buttons
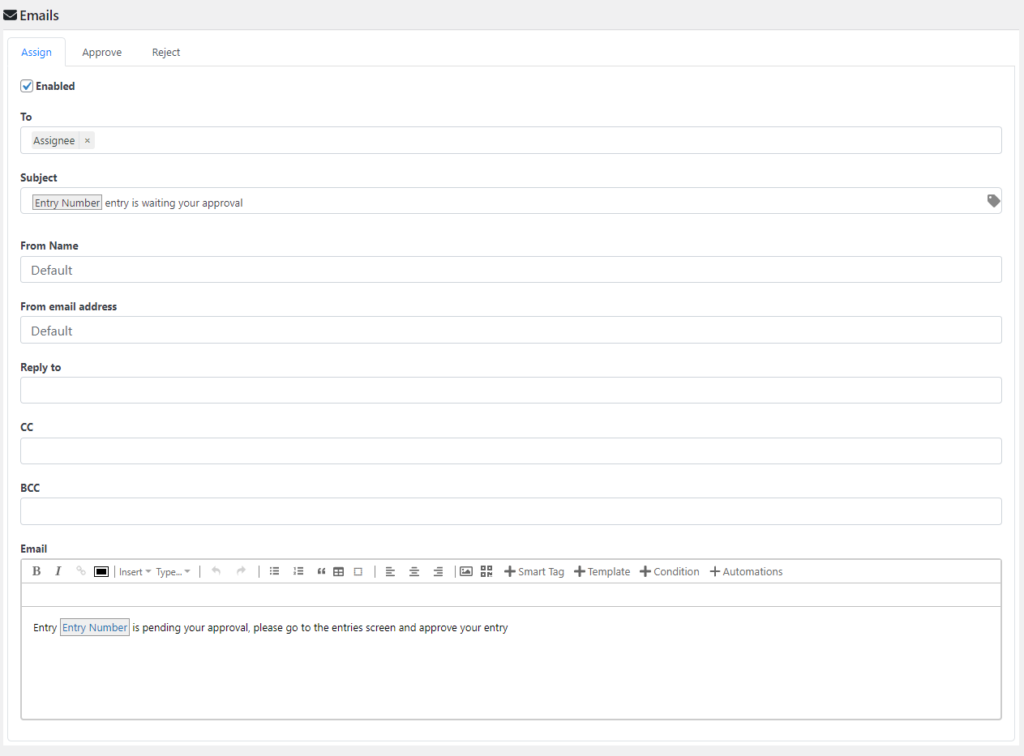
4.- Configure the email notifications. You can set up an email that is sent when someone is assigned as an approver when the entry is approved or rejected.
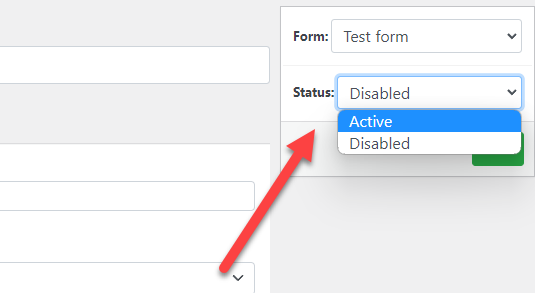
5.- Once you finish configuring your workflow you need to activate it.
That’s it, now your workflow is going to be executed when a form is submitted.
How to approve or reject an entry
Once an entry reaches the approval step, the users assigned to approve or reject it can go to the entries screen and approve it from there:
Firing the workflow conditionally
You can also configure the workflow to be executed only for specific submissions (like submissions done by a specific user or that were filled in a certain way). To do so follow these steps:
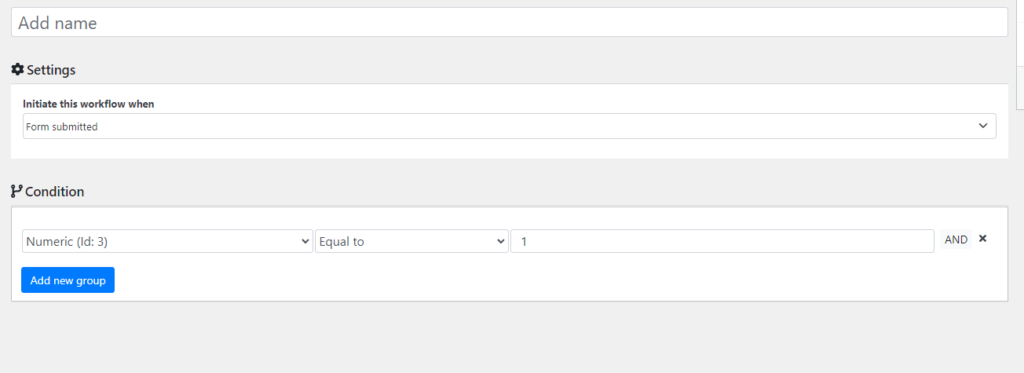
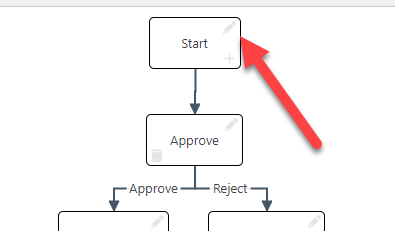
1.- Go to the start node settings (you can go to its settings by clicking the pencil icon)
2.- In the condition section set up your condition. In the example below the workflow will be fired only for entries where in the field called “Numeric” a number “1” is submitted