
Getting Started
Important: To use the ai plugin you will need an open ai key
With the AI add-on, you can use chat gpt to generate responses that can be shown in a field or included within the emails or confirmation boxes. This could be very useful to do a variety of things like:
Generating text for the user
You could create a form that asks for some inputs from the user and then generate innovative content using that input
The example below generate a poem using the user-selected options:
Streamline your inbox
You could let chat gpt process the emails to make it easier/quicker for you to digest. For example, if you have a contact form where you generally get very long emails you could let chat gpt summarize it for you and give you a list of action points if there are any like in this example:
Categorize the submission or spell-check it
You can also make the ai analyze the entry and do stuff like add the “Important!” subject in the email if it detects that the message is a presale question (or whatever you want it to be)
Your creativity is the limit
As you will see next you don’t need to do complex configurations or coding to do stuff like this, all it takes is to configure one field telling the ai what you want to do, similar to how you would tell a person to do it, for example, the example above use this text to configure the ai:

So as easily as I configured this example you can configure your ai box with your own text.
Configuring the ai plugin
To configure the ai plugin and add your ai boxes to your form do the following steps:
1.- Go to the AIO settings
2.- In the open ai section submit your “Open AI Key”
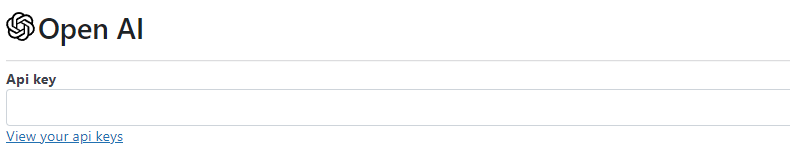
Important: At the time of this writing every interaction with OpenAI’s services incurs a cost but this cost is relatively very small, for example, while building this plugin (and doing SEVERAL calls) to open ai our cost was still less than 50 cents. It is important though that you monitor your OpenAi expendings and configure a spending limit if needed.
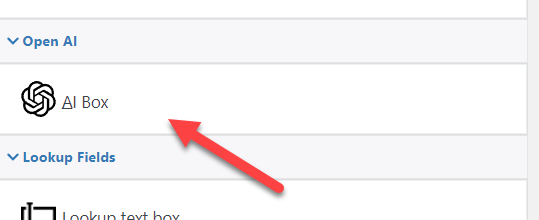
3.- Open your form and add an AI Box
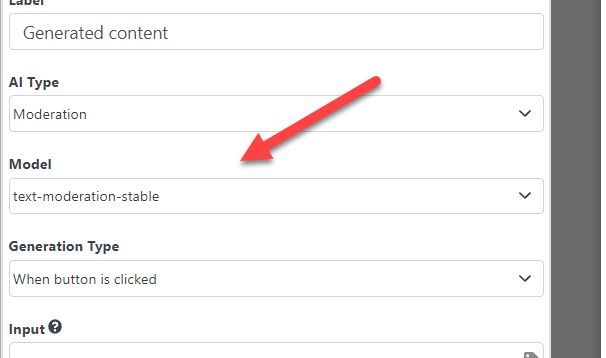
4.- Select an AI Type, there are 4 types
Chat: This is the one I have been using to create the examples below, in this type you configure a command (or prompt) and the box is filled with the reply from the ai
Competition: Similar to chat but generally more expensive (it technically has more differences but these are not important to configure the box)
Edit: This can be used to modify a text according to a command. For example, you can configure OpenAi to correct the orthography of a field or translate it to another language.
Moderation: In this mode, OpenAi can analyze a text and define if the text is a hate speech, thread, sexually explicit etc.
5.- Configure a model, each model is different depending on the type of ai that you are using but unless you are experienced in openai and want to do something very specific you can just use the default one

There are three types of generation
When a button is clicked:
In this version, the ai box will add a button and the text will be generated only after the button is clicked
When a form is submitted:
Here the ai box will be filled only after the form is submitted, this means that the user won’t see this box while filling the form but you can add the ai response in the emails or confirmation dialog.
Automatic:
In this one, the ai box will refresh the response from ai every time it is needed. So for example if you configure the ai box with this promo: “Translate [field 1] to English” the ai box will contact and refresh its box every time the “Field 1” is changed. Remember that every call to open ai incurs a cost so use this mode with caution.
6.- (Optional) Define a format: If you want you can add an additional text or format to the response of open ai, for example, you could add an additional title, you can do so using the format section:
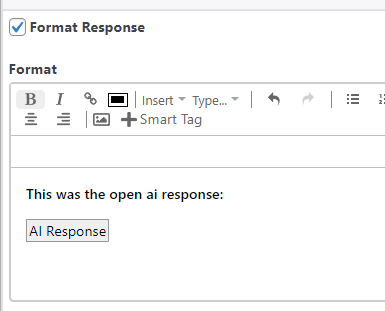
And that’s it! Now your form is ready to contact open ai and fill your AI Boxes automatically!
Would you like to get more than one add on?
Check out our bundles and get several add ons at a HUGE discount
View Bundles